Shipping
from 2€
from 2€

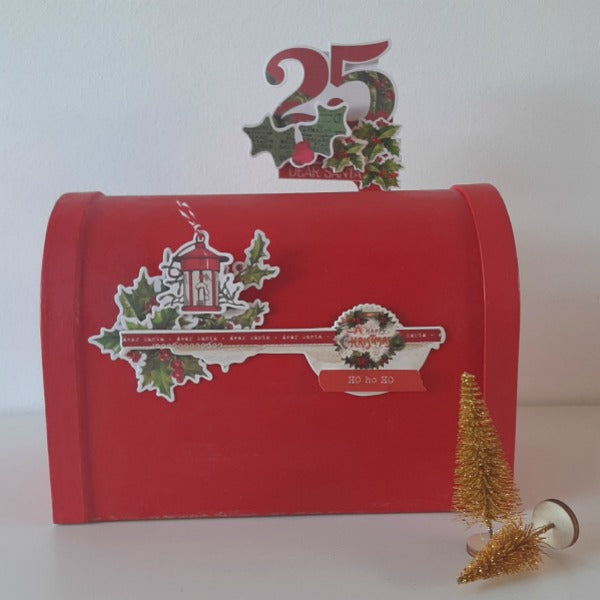
To do so we have used the large mailbox of this Set of 3 Mailboxes

Red paint by Vicky Boutin to paint it and the Simple Stories collection, Simple Vintage Christmas which is very complete, you have stickers, chipboards, die cuts, washi tape... and you can get a lot of use out of it by doing different things projects with it... and you also have it with an incredible discount for Black Friday.

The first thing we will do is paint the entire mailbox, the cardboard absorbs the paint a lot so you will surely have to give it a second hand. Or it could also be left with less red areas, since the collection is Vintage and it fits well with that aesthetic.
You can paint it inside or cover it with paper from the collection, we leave that to your choice. We have used paper and liquid glue to be able to play with it and make it perfect
Once dry, the most fun part is decorating it using all the decorations we have, and using overlays and 3D pads to give volume to some of the decorations.
We leave you some photos so you can see it better...


Finally, we make the envelopes with the help of the indispensable Envelope Punch Board
To take advantage of the cards that already come in the collection, we have made them in different sizes and we have also decorated them.


And for the closure of the envelope we leave you a little trick that we love and use whenever we can. What we do to find the stickers that are most suitable, it is best that they are long so that the peak of the envelope can be roasted, we glue paper underneath and cut it along the edge. Then some 3D pads on both sides, stick it on and you're done!

Now all that remains is to write our letters and find a nice place for him in our house!!!
We hope you liked it and inspired you to make yours!!!
Team Oh Naif
Leave a comment